
Installing an in-ground swimming pool can be a rewarding and luxurious experience. Depending on the size of your pool, installation usually takes between two and four weeks. You must have enough time, money, and space for the project. In this blog post, we’re going to discuss the step-by-step process for installing an in-ground swimming pool.
Step 1
Choose a Pool Design & Location. Before you begin the installation process, you need to decide where your pool will go and what kind of design you want it to have. It is also necessary to consider factors like existing landscaping, climate conditions, and any zoning restrictions that may apply in your area. Once you’ve chosen a spot for your pool, you can begin planning out its shape and features.
Step 2
Excavate & Level the Site. Once you’ve decided on a location for your pool, it’s time to start digging! You will need to excavate the area where your pool will be located to create a level surface. This process usually takes up several days depending on how large the excavation site is. After excavating, take some time to level out the area using a rake or tamping machine.
Step 3
Prepare Foundation & Install Frame. Once all of the necessary excavation has taken place and the ground has levelled, it’s time to prepare the foundation for your pool. This involves laying down sand or gravel as well as installing any necessary support beams or joists for added stability. After this is done, installers will attach metal frame pieces around the perimeter of your pool which acts as anchors for further construction work.
Step 4
Install Plumbing & Electrical Wiring. The next step is installing plumbing and electrical wiring which are essential components of any in-ground swimming pool setup. Plumbing is responsible for bringing water into your pool from outside sources while electrical wiring connects all of the necessary pumps and lighting fixtures inside the pool. Installing these components usually takes at least one day but can take longer based on their complexity.
Step 5
Construct Walls & Floor. Now that all of the foundational work has finished, it’s time to construct walls and floors around the perimeter of your new swimming hole! Depending on what type of material you choose (concrete or fiberglass), this part of the installation process can take anywhere from two days up to one week or more based on its complexity.
Step 6
Fill with Water. Once all of these steps have been completed it’s finally time to fill up your brand-new swimming hole with water! Filling up a typical in-ground swimming pool with water can take anywhere from one day up to three days if there is an issue with filling it quickly enough due to a lack of access points nearby (like city water taps).
Step 7
Decking & Other Amenities. The final step before enjoying your new backyard escape is installing decking around its perimeter and other amenities like furniture or outdoor lighting fixtures. This usually takes one day, but could easily take longer if more features are added than initially planned (e.g., adding hot tubs).).
Step 8
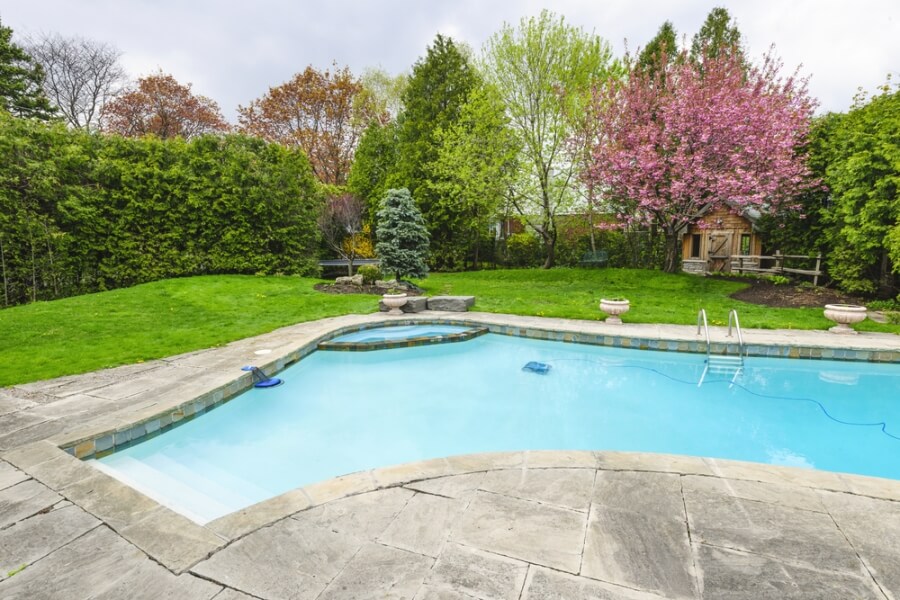
Enjoy Your New Pool! Last but not least—it’s officially time to enjoy your new backyard escape! After completing all seven steps outlined above you should now be able to enjoy many hours spent relaxing in crystal clear waters surrounded by friends and family alike!
Installing an inground swimming pool can seem daunting, but when broken down into smaller steps it becomes much easier—and quicker—to complete! Knowing each step along with estimated timescales ensures that everything goes smoothly during installation so that homeowners can enjoy their beautiful backyard escapes sooner rather than later! With proper planning, research and commitment anyone can install their inground swimming pool in no time at all!